
Introduction:
Building your first computer can be an exciting task; the thought of having your very own PC, one that’ll allow you to play the very best games, carry out your work on, and maybe do some video editing, if that’s your thing. The entire process, from start to finish, can be quite exhilarating.
If you’re able to assemble, a bunk bed, with all the different pieces, planks, and screws and all, then you should have the required skills to put together a PC. If this is your first PC however, then this article should come in handy. Just as a reminder for mistakes you’re most likely to make.
Top 8 Mistakes Beginners Building Their First PC
1. Forgetting the I/O Shield
The I/O shield is the thin piece of metal that provides the icons for all the different inputs at the back of your computer. A very common mistake, and one even I’ve made, is to forget to insert it into the case, prior to installing the motherboard. So, before you do anything else, get that piece of metal, and put it in its designated place, on your PC case.
2. Install Fans in the Wrong Direction
Cooling for any PC is integral to its functionality and longevity. A properly installed fan system will ensure all the hot air within the case is pushed out, keeping the temperature inside the case relatively cool. However, a lot of people make the mistake of installing the fans the wrong way. If you purchase your case with preinstalled fans, then this will not be a problem for you. However, if you need to add additional fans to your current setup, then you need to ensure the fans are flowing in the right direction. I suggest you do additional research on this topic, just to get a firmer understanding of positive and negative air flow.
3. Incorrect CPU Installation
The CPU or Central Processing Unit is essentially the brain of your system, so installing it incorrectly can be devastating. There’s only one real way of installing your CPU – so there are things that you should look out for.
For one, if you install the CPU the wrong way, you will most likely end up bending or even breaking the pins at the bottom of the CPU. So that’s something you’ll want to avoid.
- Any CPU that you purchase will have a corner marking. You will need to use that to match the CPU to the CPU socket on the motherboard. Make sure they are lined up correctly. If done correctly, the CPU should simply drop into place – no additional pressure required.
- Make sure everything is done with care. Hold your CPU from the sides, keeping your hands away from either the top or bottom of it.
- Remember, bent pins can essentially break your CPU. Although there have been instances where users have been able to bend a pin or two, back.
If you’re still a little unsure about a proper CPU installation, then I recommend you consult any of the instructional videos that have been made available, for either AMD or Intel CPUs.
Remember the CPU is integral to your system, without it, nothing else will work.
4. Not Having a Large Enough Workspace
Before you start the building process, the very first thing you’ll want to do is find a suitable location. One that is larger and clear enough to assemble your system. Any large desk or table should be sufficient.
While, you may be able to put together a PC in a relatively small space, it’s definitely not best practice. There will be a lot of screws, cables and components that you will need to keep close tabs on. You won’t want to misplace anything for your first build.
Another thing to note is that you do not want to build your system on a location that has the potential for static build up. Surfaces such as rugs and carpets are definitely a no-no. If you have a suitably large table, then this isn’t something you should worry about. Just be sure to have everything positioned on the table, which is why you want a table large enough to house everything.
However, if you lack a large enough table, or are forced to build your PC on a surface that’s prone to static build up, then you should deploy a electricity wristband, to discharge any potential build-up. There are many antistatic wrist bands out there that you can invest in. So I suggest you give that a look in.
5. Not Plugging Everything In
This is a mistake that is especially common amongst beginners. If you fail to connect everything, then the system will fail to turn on. To get around this issue, just take precautions to plug the correct cables in whenever installing a component to your motherboard.
If you feel there may be any issues in the long run, during the build process, then just note down the component, then connect it up, at the end. If the system still fails to power on, then simply double-check all your connections. Make sure there’s nothing loose.
6. Purchasing Incompatible Components
Another mistake you’re likely to make as a first time builder, is to purchase components that are not compatible for your build. There are several things you can do to ensure the compatibility of any component you invest in. The most convenient way is to simply use an online PC Builder – all you do is choose the parts you like, and it will tell you whether or not it will work with whatever you want it to work with.
If you’re purchasing new RAM for example, then you should be able to find a compatibility list online for that specific brand.
7. Applying Too Much CPU Thermal Paste
This part of the process can get quite messy, especially when not done correctly. Installing the right amount of thermal paste, can be quite tricky for first timers. If you install too much, then it will naturally seep out into the motherboard, and could potentially cause other components around the CPU to heat up. If you apply too little, then heat dissipation won’t be as good, which means, you’ll have a hotter CPU.
Typically, companies will tell you that the right amount of thermal paste should be equal in size to a grain of rice. Positioned in the centre of the CPU die, so that it spreads out, naturally, when you place the heatsink on top of it.
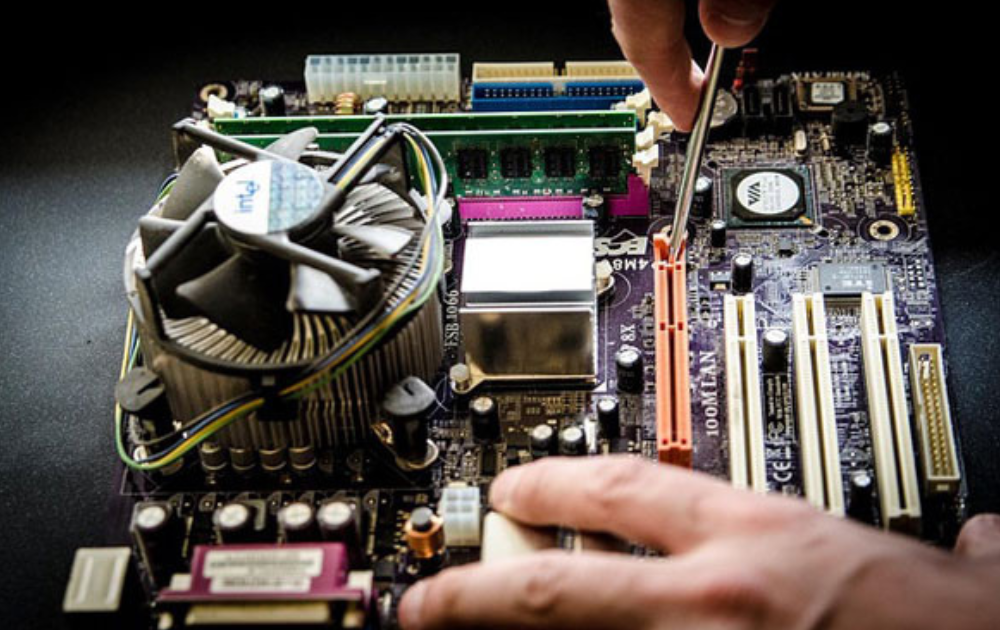
8. Incorrect RAM Installation
I’ve already touched briefly on installing the wrong type of RAM for your motherboard. However, that’s only part of the process. Once you have the correct RAM, you need to ensure you install it correctly. That means, pushing the RAM into the slot the correct way. Typically the RAM can only be installed one way, however, with enough applied pressure it is possible to install it the wrong way round.
Make sure you install the RAM in the correct channels as well. This won’t be an issue on a motherboard with just two RAM slots. However, with a four RAM slot motherboard, you’ll find that there’s a specific pattern in which memory modules should be installed. You will need to consult the motherboard for that – as they vary from motherboard to motherboard.
One thing to note, is that, installing your modules in the wrong channels, will not damage them. They just won’t perform to their maximum potential.
Conclusion:
In conclusion, building your first PC can be a rewarding experience, but it’s important to be aware of potential pitfalls. By learning from common mistakes and following expert advice, you can ensure a smoother and more successful PC building journey. Remember to research thoroughly, take your time, and stay patient throughout the process. With careful attention to detail, you’ll soon enjoy the satisfaction of a well-built PC tailored to your needs. Happy building!